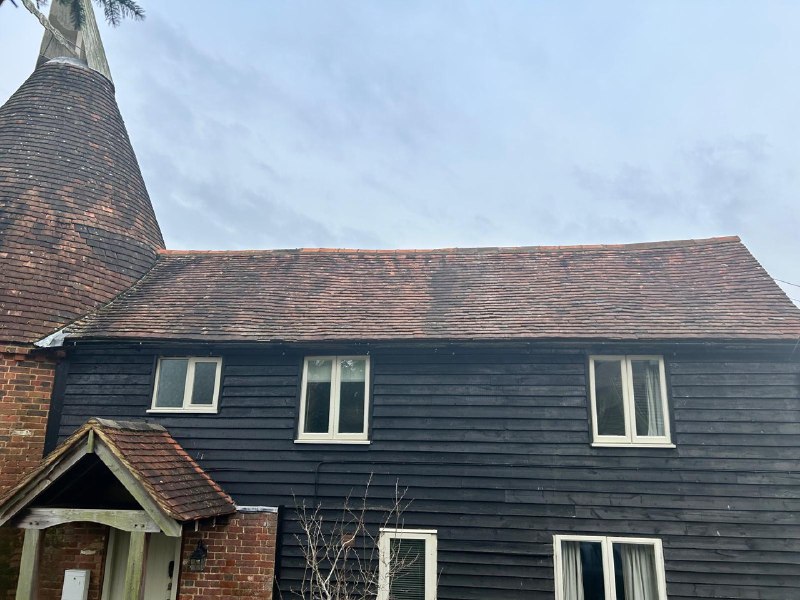
Introduction: Dealing with slipped tiles on your roof can be challenging, especially in hard-to-reach areas. However, timely repairs are crucial to prevent water leaks and further damage to your home. This blog post will discuss effective strategies for repairing slipped tiles in those tricky spots, ensuring your roof remains watertight and secure.
- Assess the Situation: Before attempting any repairs, carefully assess the condition of the slipped tiles and the area’s accessibility. Use binoculars or a drone to inspect the roof from a safe vantage point and identify the slip tiles’ exact location. Note any obstacles or hazards that may complicate the repair process, such as nearby trees or power lines.
- Safety First: Safety should always be your top priority when working on a roof, especially in hard-to-reach areas. Ensure you have the proper safety equipment, including a sturdy ladder, safety harness, and non-slip shoes. If the area is particularly challenging to access, consider hiring a professional roofing contractor with the expertise and equipment to handle the job safely.
- Use Extension Tools: For areas that are difficult to reach by hand, consider using extensions designed specifically for roof repairs. Extension poles with adjustable heads allow you to access tight spaces and manipulate the slipped tiles without harming yourself. These tools can significantly simplify the repair process and reduce the risk of accidents or injuries.
- Secure the Surrounding Tiles: Before repositioning the slipped tile, secure the surrounding tiles to prevent further movement or damage. Use roofing cement or adhesive to bond adjacent tiles to the roof deck, ensuring they remain in place while working on the slip tile. This will provide added stability and prevent the issue from spreading to neighbouring tiles.
- Carefully Lift and Realign: Once the surrounding tiles are secure, carefully lift the slipped tile and realign it with the adjacent tiles. Be gentle to avoid damaging the tile or underlying roof structure. Apply a generous amount of roofing cement or adhesive to the underside of the tile before pressing it firmly back into place. Use a putty knife or similar tool to smooth out any excess adhesive and ensure a tight seal.
- Conduct a Thorough Inspection: After repairing the slipped tile, thoroughly inspect the surrounding area to ensure no other tiles are loose or damaged. Address any additional issues promptly to prevent future problems and maintain the integrity of your roof. Consider scheduling regular roof inspections to catch potential issues early and avoid costly repairs down the line.
Conclusion: Repairing slipped tiles in hard-to-reach areas of your roof requires careful planning, attention to detail, and a commitment to safety. By following these tips and taking a proactive approach to maintenance, you can keep your roof in optimal condition and protect your home from water damage and other hazards.
Call us on: 01623 700 893
Click here to find out more about Ravenshead Roofing Repairs
Click here to complete our contact form and see how we can help with your roofing needs.

